

Table of Contents
- What AI Powered Lighting Design Actually Does for Home Interiors
- AI Interior Design Software: How Lighting Layouts Get Generated
- Virtual Lighting Design Simulation: See the Room Before You Buy
- Smart Home Lighting Automation: Turning a Design Into Daily Scenes
- DIY vs Professional AI Lighting Tools: Which One Fits Your Project
- How AI Lighting Design Affects Mood, Energy, and Your Power Bill
- How to Plan Your First AI Lighting Design in 5 Steps
- Frequently Asked Questions
Last Updated: September 20, 2026
What AI Powered Lighting Design Actually Does for Home Interiors
AI powered lighting design for home interiors uses machine learning to read a room's dimensions, furniture layout, and surfaces, then proposes fixture types, placements, and brightness levels before you buy a single bulb. At Vireous.Shop, we watch creators and homeowners use the same generative approach to decorate their walls: describe what you want, get a visual, refine it.
AI Interior Design Software: How Lighting Layouts Get Generated
AI interior design software generates lighting layouts by combining a room scan or floor plan with a trained model that recognizes furniture types and predicts how light bounces off each surface, outputting a fixture list, placement map, and brightness target per zone.
How AI Reads Room Dimensions and Furniture Placement
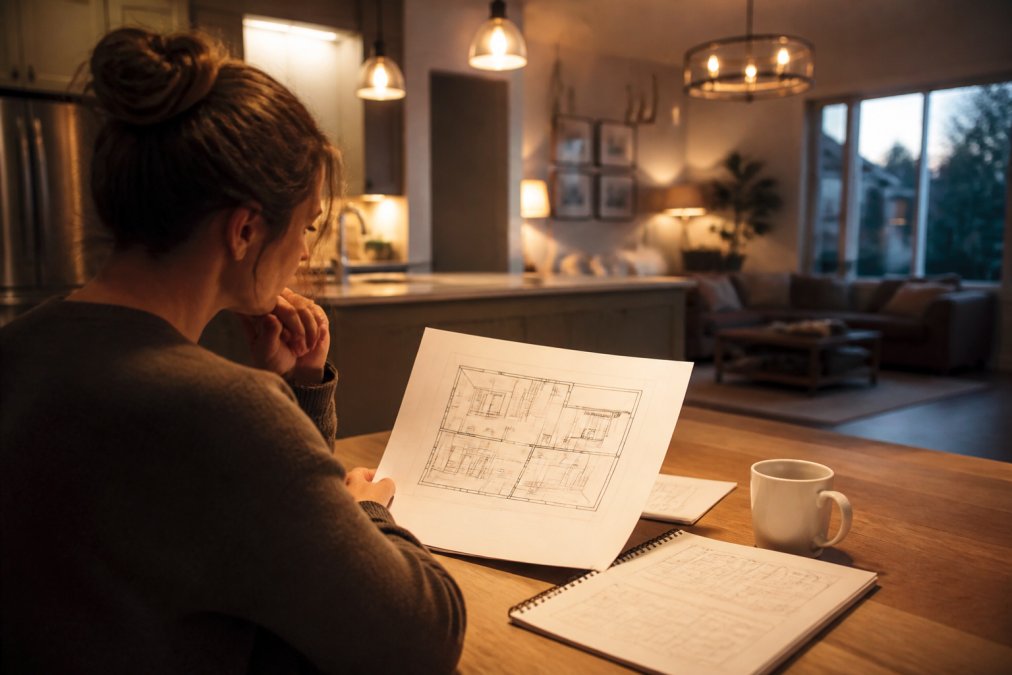
Spatial awareness starts with input. Most tools accept a phone photo, floor plan upload, or manual measurements, then estimate ceiling height, wall positions, and furniture footprint. Accuracy depends on what you feed it: a wide-angle photo with lights on gives the model almost nothing, while lights-off daylight shots with a reference object like a door frame improve the layout immediately.
Fixture Recommendations and Lumen Calculation
Lumen calculation is where AI tools earn their keep: the model estimates required light output per zone based on room function, then matches that target to fixture types it has seen before.
| Zone | Target Brightness | Suggested Fixture Type |
|---|---|---|
| Kitchen prep counter | High | Under-cabinet strip |
| Dining table | Medium, dimmable | Pendant or chandelier |
| Reading corner | Medium, directional | Floor or table lamp |
| Hallway | Low | Wall sconce |
Virtual Lighting Design Simulation: See the Room Before You Buy
Virtual lighting design simulation renders your room under different lighting conditions so you can compare options before buying fixtures, the biggest reason AI has changed how people shop for home lighting.

Real-Time Rendering and Iterative Design
Real-time rendering lets you swap a fixture, change its color temperature, and see the result in seconds, so you can test a warm 2700K scheme against a neutral 3500K scheme in one afternoon. When the preview matches what arrives, returns drop and the room looks intentional rather than assembled.
Where Simulation Still Gets It Wrong
Simulation has real limits: reflections off glossy surfaces, the exact tone of a painted wall, and how fabric absorbs light are approximations, so a render that looks balanced on screen can feel flat in person. Use simulation to decide placement and brightness, then test one fixture in the actual room before ordering the rest.
Smart Home Lighting Automation: Turning a Design Into Daily Scenes
Smart home lighting automation converts a static lighting plan into scheduled scenes that shift with the time of day. The design tells you where the light goes; automation decides when it turns on and how bright it runs. The part most guides skip is the handoff: how an AI-generated fixture list becomes scenes inside a hub.
From AI Layout to Hub Scene: The Handoff
An AI tool outputs a fixture list, zone map, and brightness targets; a hub needs device IDs, capability profiles, and scene rules. The bridge is a protocol, most often Zigbee, Z-Wave, or Matter.
- Zigbee is the workhorse for bulbs, strips, and sensors. It runs on a mesh, so every powered device extends range. Most budget smart bulbs use it.
- Z-Wave is common in wall switches, dimmers, and in-wall modules. It also meshes, but on a different radio band, which keeps it clear of Wi-Fi congestion.
- Matter is the newer cross-vendor standard backed by major platform vendors. A Matter-certified bulb can be commissioned once and then controlled from multiple ecosystems without a vendor-specific bridge.
Color Temperature and Circadian Lighting Schedules
Circadian lighting schedules shift color temperature across the day, cooler and brighter in the morning, warmer and dimmer at night. The AI layout gives you the zones; the schedule gives you the timing.
A workable schedule for a living room:
- 6:30 a.m. to 9:00 a.m.: 4000K at 80% brightness
- 9:00 a.m. to 5:00 p.m.: 3500K at 60%
- 5:00 p.m. to 8:00 p.m.: 2700K at 50%
- 8:00 p.m. onward: 2200K at 20%
Ambient, Task, and Accent Lighting in One System
Ambient, task, and accent lighting each do a different job, and automation lets one system handle all three: ambient fills the room, task lands on a work surface, accent adds depth to a wall or shelf. The AI layout assigns each zone a role; the hub assigns each role a scene.
A practical scene structure looks like this:
| Scene | Zones active | Typical trigger |
|---|---|---|
| Morning | Ambient + task | Sunrise or alarm |
| Work | Task + accent | Manual or calendar |
| Dinner | Ambient dimmed + accent | Sunset offset |
| Wind-down | Ambient only, warm | Fixed time |
| Away | Random accent | Geofence exit |
Where the Handoff Breaks
Two failures show up again and again. First, a hub that does not expose a fixture's full capability, a color bulb that only reports as on/off, flattens your AI-designed color schedule into a single white. Second, a mesh that is too thin: Zigbee and Z-Wave rely on powered devices to relay signal, so if every bulb in a far room sits on a switched circuit cut at the wall, the mesh drops with it.
DIY vs Professional AI Lighting Tools: Which One Fits Your Project
DIY AI lighting tools suit single rooms and renters; professional-grade tools suit whole-home remodels and anyone working with a contractor. The gap has narrowed but not closed, and the real difference is what each tool assumes about your inputs and expects you to do with the output.
What Each Tier Actually Assumes
DIY tools assume you have a phone, a room, and no measuring tape: they accept a photo or rough sketch, infer dimensions from perspective, and return a fixture list with placements and brightness targets you refine by eye. Professional tools assume a measured floor plan, ceiling height, and a client or contractor waiting: they accept CAD files or measured drawings, run photometric calculations against surface reflectance values, and return a full lighting schedule with fixture counts, lumen output per fixture, and a layout a licensed electrician can install from.
| Factor | DIY Tools | Professional Tools |
|---|---|---|
| Typical input | Phone photo, floor plan | Measured floor plan, CAD file |
| Output detail | Fixture suggestions, basic render | Photometric analysis, full schedule |
| Learning curve | Minutes | Days to weeks |
| Best for | One room, renters | Whole-home, remodels |
| Cost | Free to low monthly fee | Subscription or license |
| Electrical constraints | Not modeled | Partially modeled |
| Non-standard rooms | Poor accuracy | Better, still imperfect |
Where Both Tiers Fail
Neither tier reliably models electrical wiring constraints: a DIY tool will place a pendant over a dining table with no ceiling box or nearby circuit, while a professional tool flags the missing box but still assumes the circuit can carry the load. Non-standard rooms are the second failure, angled ceilings, L-shaped footprints, and open-plan spaces confuse both tiers, since the AI tends to treat each zone as a rectangle.
A Decision Framework for Homeowners
Work through these in order and stop at the first match.
- Are you renting? Use DIY, you cannot rewire, so professional output is wasted.
- Is it one room? Use DIY, the professional learning curve will eat the project time.
- Are you working with a contractor or electrician? Use professional, or ask for a photometric output you can feed into a consumer app.
- Is it a whole-home remodel with new circuits? Use professional, the schedule must match the electrical plan.
- Do you need a permit? Use professional, reviewers want photometric data, not renders.
How AI Lighting Design Affects Mood, Energy, and Your Power Bill
Energy savings from AI lighting design come mostly from right-sizing brightness so you stop over-lighting rooms, and scheduling so lights are not left running in empty spaces. LED fixtures with dimming and scheduling draw far less power than the incandescent and halogen setups they replace. The mood effect is harder to quantify but easy to feel: warm, dim light in the evening supports relaxation, cool, bright light in a workspace supports focus.
How to Plan Your First AI Lighting Design in 5 Steps
Planning your first AI lighting design takes about an afternoon if you prepare the inputs properly.
Total Time: 2 to 3 hours
- Measure and photograph the room. Capture ceiling height, wall lengths, and window positions; shoot photos with the lights off in daylight.
- Upload to an AI design tool. Enter room function (bedroom, office, dining) and your preferred mood.
- Review the generated layout. Check fixture placement against real furniture positions and adjust anything that clashes.
- Render two or three lighting schemes. Compare warm versus neutral color temperatures in the same view.
- Test one fixture in the real room before buying the rest. Confirm brightness and warmth match the render, then order the full set.
Frequently Asked Questions
How does AI powered lighting design work for home interiors?
AI lighting design tools read your room dimensions, furniture layout, and window positions, then calculate how much light each area needs. They recommend fixture types, lumen output, and color temperature, and can render a simulation so you see the result before buying anything. The same AI lighting design workflow also produces a fixture list you can shop from, which removes most of the guesswork from a room refresh.
Can AI help me choose the right color temperature for my rooms?
Yes. Most tools let you set a target mood, such as focused or relaxed, and the AI assigns color temperature by room and task. Kitchens and home offices typically land around 3500K to 4000K for task lighting, while bedrooms sit closer to 2700K. If you plan to automate, pick fixtures that support variable color temperature so a single lamp covers both morning and evening scenes.
Is AI lighting design software suitable for DIY home renovators?
Consumer tools handle single rooms well: you upload a photo or enter dimensions, pick a style, and get a layout with fixture recommendations. Professional software goes further with photometric analysis, bill of quantities, and lighting compliance checks, which matters for whole-home projects or anything requiring permits. Start with a free consumer tool on one room, then decide whether you need the pro tier.
Will AI lighting plans work with my existing smart home setup?
Usually, if you check compatibility first. Design tools output fixture and control recommendations, but the automation layer runs on your hub, app, or voice assistant. Look for fixtures that use common protocols and apps, and confirm your hub supports them before ordering. Curtain motors, wall bars, and ambient lamps that pair with mainstream assistants are the easiest to fold into an AI-generated plan.
Lighting is the hardest part of a room to get right, and it is the part most people rush. AI powered lighting design for home interiors gives you a way to see the result before you spend, test one fixture before you buy ten, and let a schedule handle the daily adjustments. Vireous.Shop supports that same creative loop with AI-generated wall art and decor, so your lighting and your walls can be designed together. Customize your first piece and see how the room comes together.